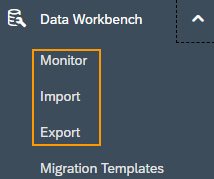
This article is about the basic functions of the information workbench, for this I will focus on the areas Monitor, Import and Export.
The Monitor is basically an overview table of all Imports and Exports made. It contains information as the Blazon, object, created on date, number of errors, status and a few more. There are two Status you lot'll find in the Monitor: finished and interrupted. Please note that finished does non mean finished without errors. Interrupted means that the Import/Consign did not piece of work at all. If there were errors occurring, they can exist downloaded as an excel export past clicking on the number under Errors:
Besides errors there are also warnings. They tin be downloaded the same style equally errors, just click on the number under Warnings. Warnings occur when importing a file and indicate something you should wait at, but the import went through nonetheless.
All imported and exported files tin can be downloaded by clicking on the file proper name. It contains a hyperlink, with which a CSV-file can be downloaded.
The Task Name can exist useful when reporting a problem with the Data Workbench in an incident. Always refer to it, so that the SAP has an instance which they can piece of work with.
The import part is mainly used for creating new objects or updating existing ones. There are besides other possibilities like uploading attachments, but for giving an overview I'll stick to the ii master functions. Other cases volition be explained in separate posts.
Some important information ahead: all excel files which shall exist imported must be saved as a CSV-file and demand to be coded in UTF-8. After saving the excel file open it in the editor and check if it'southward already in UTF-viii, if not change it to UTF-eight with the editor.
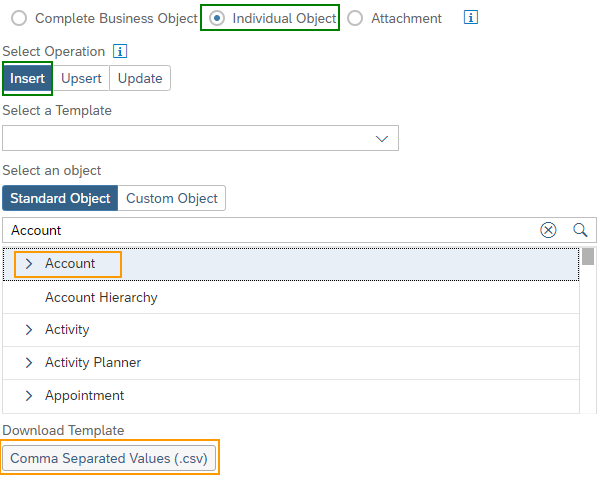
If you desire to create new objects go into the Import area, select Individual Object and Insert. And then select the object which shall be uploaded, let'south say for example Accounts. As soon as the object is selected there will be binder with templates available for download. Information technology contains several excel sheets such as template with all fields of the object and another one with field definitions.
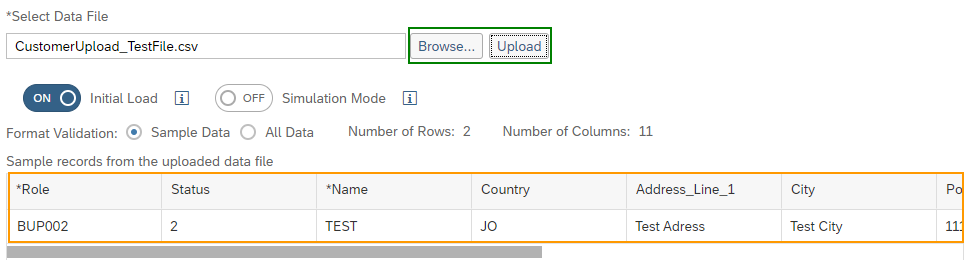
In the side by side screen you accept to upload the CSV-file, which y'all want to use, by using the Browse button. Keep in mind that it has to be a CSV-file in UTF-8, otherwise an fault will occur here. Then select Upload and small overview tabular array will announced, where you tin can bank check the data from your file. This table but shows a sample from the CSV-file, not all data.
We go along by clicking Next in the bottom correct of the screen. On the side by side folio the mapping from the fields in the CSV-file to the fields in CRM has to exist checked and confirmed past once more selecting Next, the following screen can be skipped. At final click Import on the bottom correct of the last screen, switch to the Monitor and wait for your upload to finish.
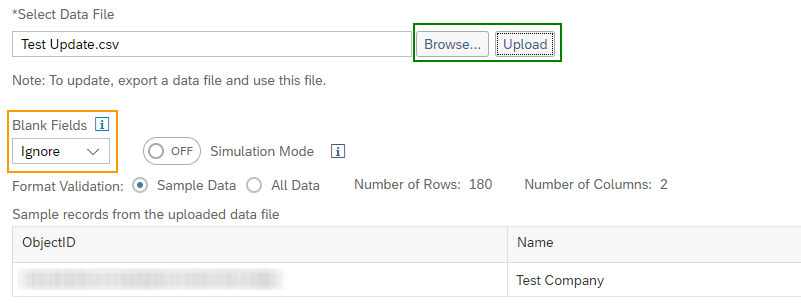
Updating objects works very similar to creating new ones. First select Update nether Select Functioning as shown higher up, then again select the object. From there on it'southward pretty much the same as uploading objects, but with lesser steps. Upload your CSV-file, bank check the overview table, click on next and in the following screen the Import can already be started. Regarding Blank fields, there are the options are Ignore and Update. If Update is selected, blank fields from the CSV are translated to CRM, so in instance there was any data in the CRM it gets deleted. Selecting Ignore is the common selection in near cases, considering it prevents this from happening.
Then again caput over to the Monitor, wait for your upload to cease and cheque for any errors or warnings.
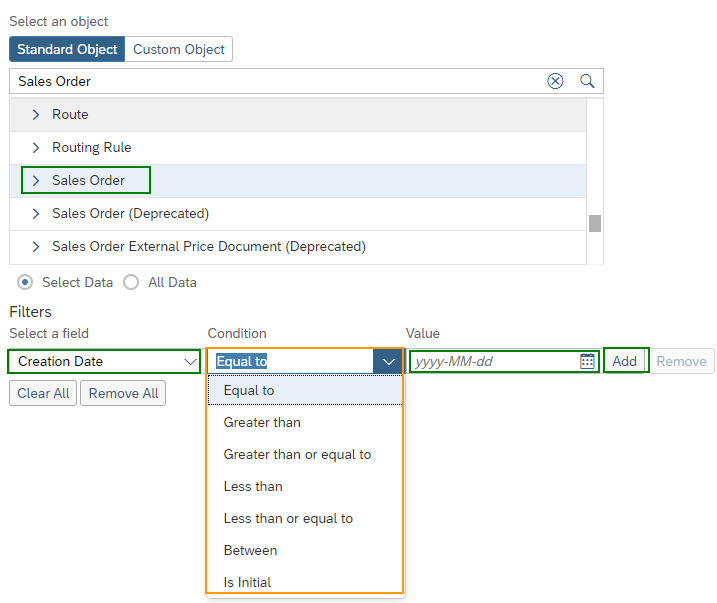
In the first screen of the Export section an object has to be selected (e.g. Sales Order), after that the filter options will appear. It's important to know that when using more than 1 filter, that the different attributes are connected by an AND-condition. Simply objects which fulfill all weather condition will be downloaded, not objects which fulfill either one or the other. Boosted filter options tin be added by using the ADD-button and always check if the right status for your purpose has been selected.
Regarding the usage of filters I want to share some personal feel: Information technology seems that CRM has some trouble when 3 or more filters are used, because in the following screen the number of items ready for downloading will exist zero. My personal advice hither is to utilize only 1 or peradventure 2 filters for best functionality, the rest tin can exist washed in the excel file itself.
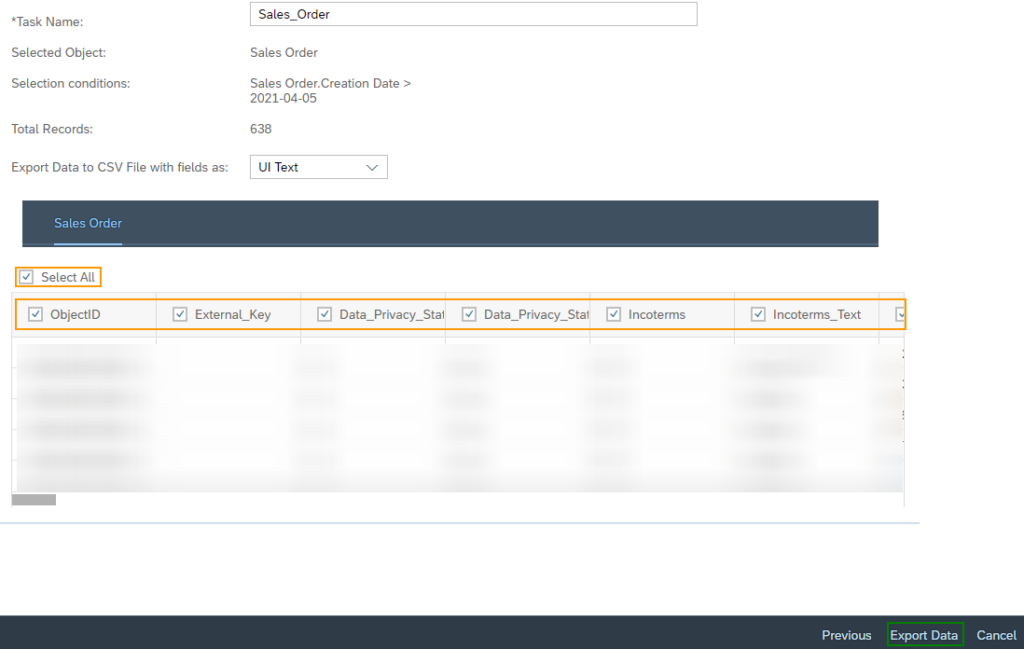
After selecting the object and setting up filters bound into the adjacent screen by clicking Next. Once more a small overview table with sample data volition be displayed and the export tin be started.
Hither can also be specified which fields shall be downloaded, so if east.g. simply the ObjectID is required only put the checkmark backside ObjectID.
Once the consign has been started, once again head over to the monitor and expect for the export to finish. Then download your excel file as described to a higher place.
If yous like our content we would highly capeesh your review on Trustpilot

0 Response to "Sap Cloud for Customer Data Workbench Upload Error Missing or Invalid Data File for Object"
Post a Comment